Mass Survey Request on Contact list
Mass Survey Request
This guide outlines how to configure Salesforce to allow users to send NPS surveys to multiple contacts simultaneously from a List View using the nps.today integration.
1. Assign Permission Sets
Before beginning configuration, ensure users have the authorization to use the nps.today tools.
- Navigate to:
Setup > Users > Permission Sets. - Action: Assign the nps.today User and nps.today Mass Requests permission set to any user who needs to send surveys. Assign nps.today Admin to those managing the integration.
- Why? This grants access to the Apex logic and Visualforce interface required to run the survey process.
2. Create the "Send NPS" List Button
The button acts as the trigger for the mass request process.
- Go to Setup > Object Manager > Contact.
- Select Buttons, Links, and Actions and click New Button or Link.
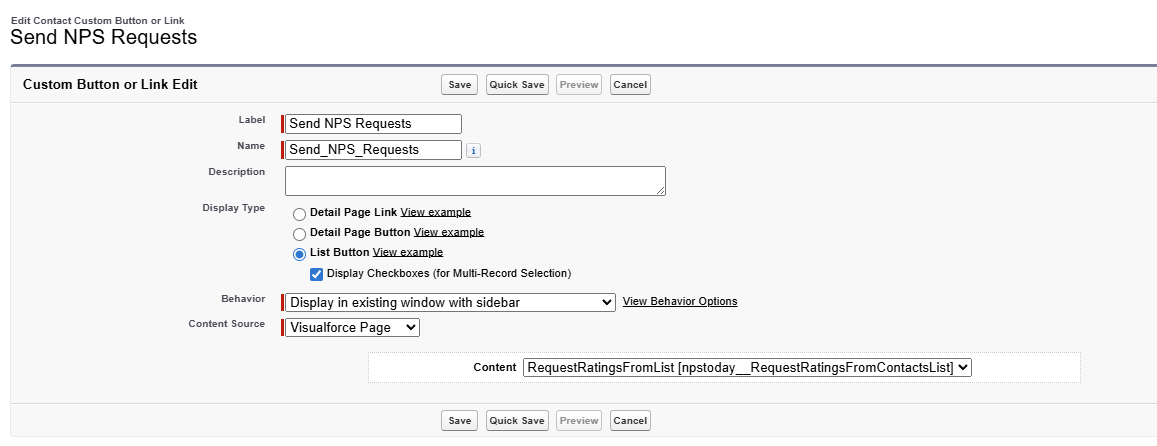
- Configuration Settings:
- Label:
Send NPS Requests - Name:
Send_NPS_Requests - Display Type: Select List Button.
- Display Checkboxes: Ensure this is Checked.
- Content Source: Select Visualforce Page.
- Content: Select
npstoday__RequestRatingsFromContactsList.
- Label:
- Click Save.
3. Enable the Button on the Contact List View
The button must be added to the layout to be visible to end-users.
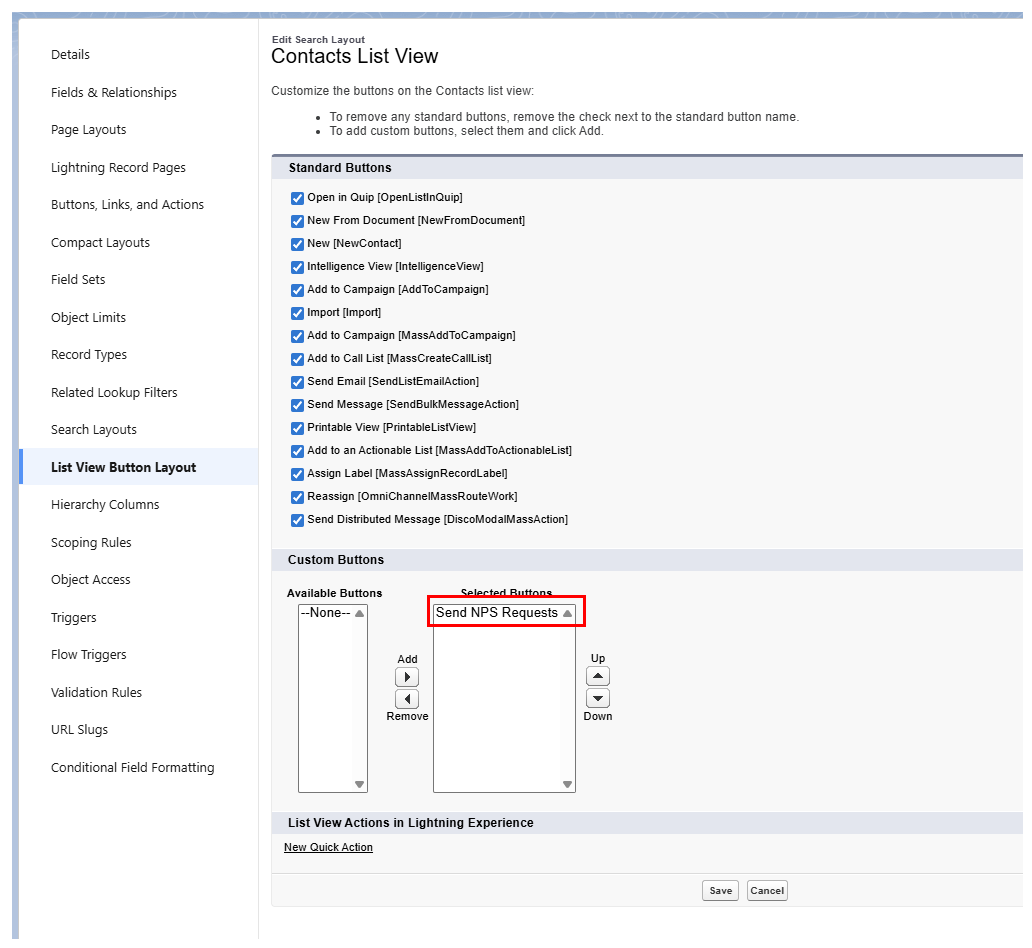
- In the Contact Object Manager, click List View Button Layout.
- Click the dropdown arrow next to the List View row and select Edit.
- Under Custom Buttons, move Send NPS Requests from "Available Buttons" to Selected Buttons.
- Click Save.
4. Locating the NPS Campaign ID
When users click the button, the Visualforce page will prompt for an NPS Campaign Code / Campaign ID. This ID tells the system which specific survey design, language, and settings to trigger.
IDs are found within the nps.today platform. See here how to find your Campaign IDs
5. End-User Workflow
Once configuration is complete, users can send surveys using these steps:
- Select Recipients: Open the Contacts tab and select a List View (e.g., "Active Customers").
- Check Records: Use the checkboxes to select the specific contacts to be surveyed.
- Initiate: Click the Send NPS Requests button in the top toolbar.

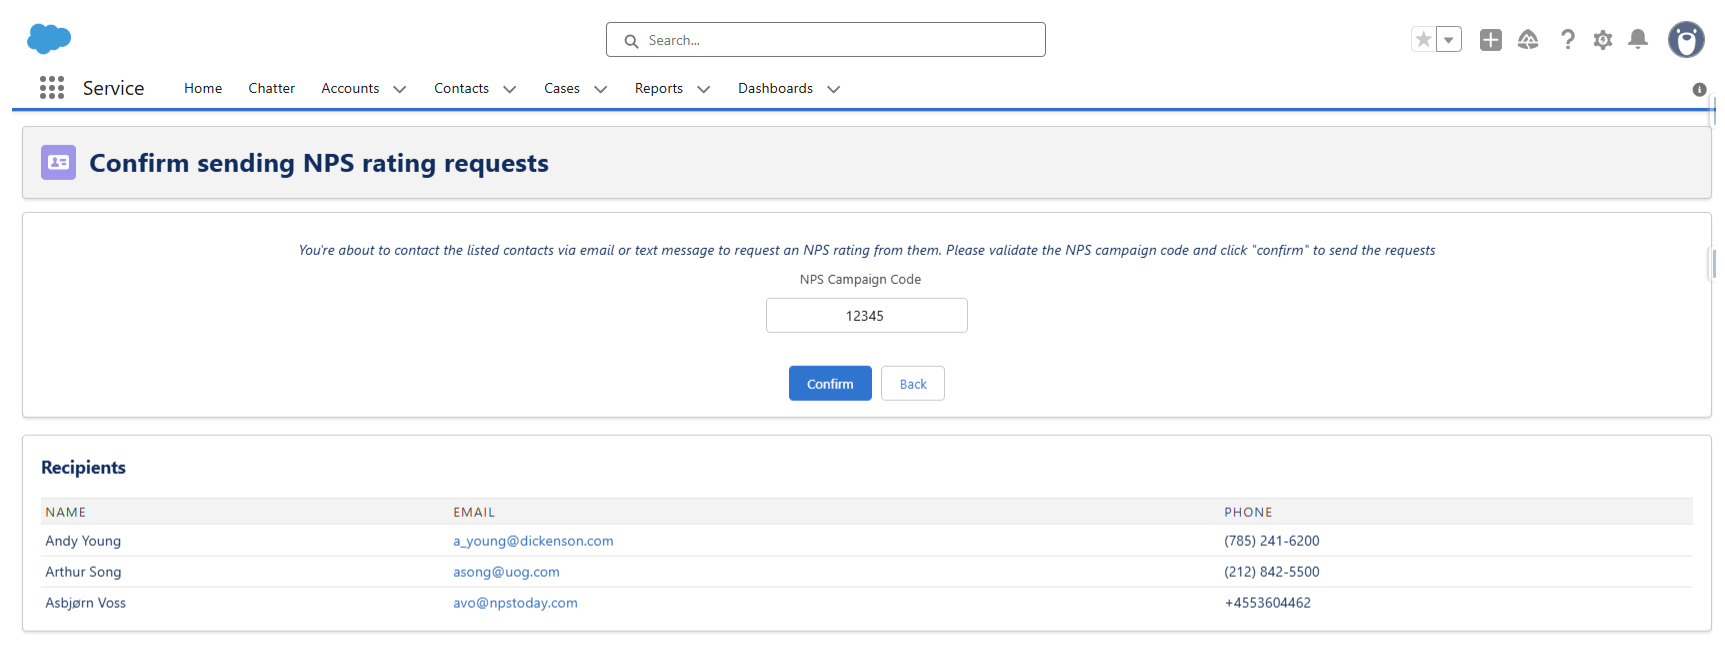
- Enter ID: Input the NPS Campaign ID retrieved from the nps.today platform.
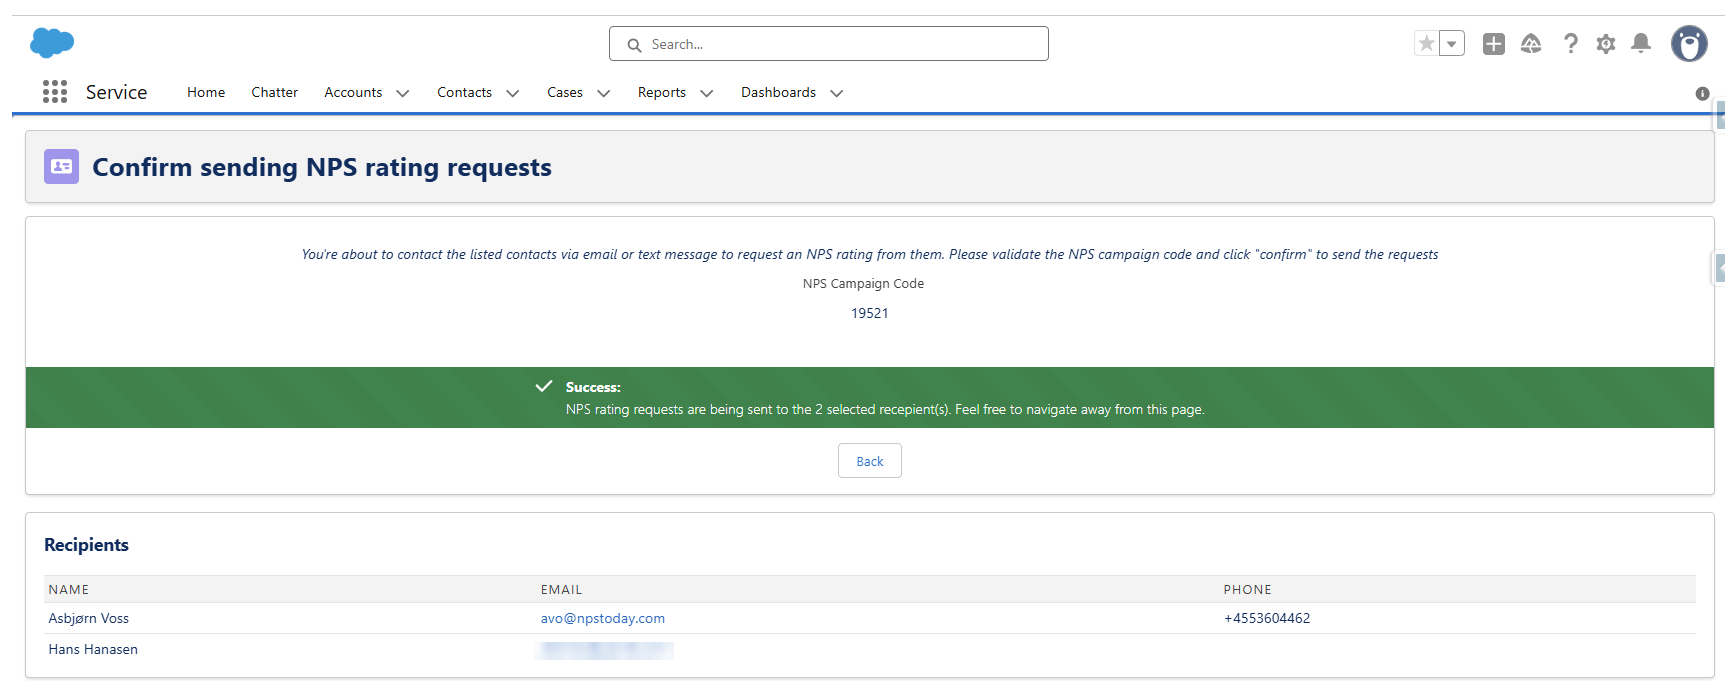
- Validate & Send: Review the recipient table at the bottom of the page to ensure contact details are populated, then click Confirm.
Troubleshooting for Admins
Empty Recipient List: Ensure the user checked the boxes on the Contact list before clicking the button.
Button Not Appearing: Custom buttons often do not appear on the default "Recently Viewed" list. Ask users to switch to a specific List View like "All Contacts" or "My Contacts" to test visibility.
Invalid ID Errors: If the system fails to trigger the survey, verify that the Campaign ID entered is "Active" in the nps.today.